Category Archives: Electronics

Milestones

The first draft of the paper is done! It comes out at about 12 pages. I’ll need to cut it down to 6 to submit for CHI 2014 WIP. Easier than writing though. Of course, that’s just the first draft. More to come, I’m guessing. Still, it’s a nice feeling, and since I’ve burned through most of my 20% time, it’s time for me to get back to actually earning my pay, so I’ll be taking a break from this blog for a while. More projects are coming up though, so stay tuned. I’ll finish up this post with some images of all the design variations that led to the final, working version:

Prototype Evolution

Prototype Evolution (click to enbiggen)

The chronological order of development is from left to right and top to bottom. Starting at the top left:

  • The first proof of concept. Originally force-input / motion – feedback. It was with this system that I discovered that all actuator motion had to be in relation to a proximal relative base.
  • The first prototype. It had 6 Degrees of freedom, allowing for a user to move a gripper within a 3D environment and grab items. It worked well enough that it led to…
  • The second prototype. A full 5-finger gripper attached to an XYZ base. I ran into problems with this one. It turned out that motion feedback required too much of a cognitive load to work. The user would loose track of where their fingers were, even with the proximal base. So that led to…
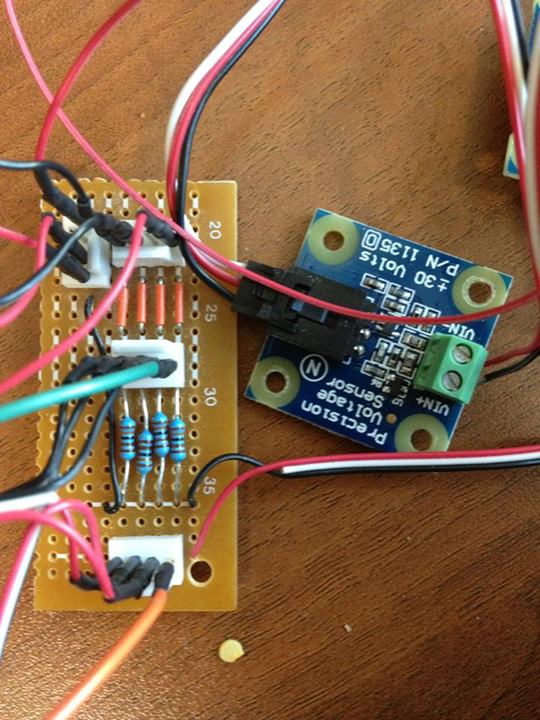
  • The third prototype. This used resistive force sensors and vibrotactile feedback. The feedback was provided using voice coils, which were capable of full audio range, which meant that all kinds of sophisticated contact and surface effects could be provided. That proved the point that 5 fingers could work with vibrotactile feedback, but the large scale motions of the base seemed to need motion (I’ve since learned that isometric devices are most effective over short ranges). This was also loaded with electronic concepts that I wanted to try out – Arduino sensing, midi synthesizers per finger, etc.
  • To explore direct motion for the base for the fourth prototype I made a 3D printing of a 5-finger Force Input / Vibrotactile Output (FS/VO) system that would sit on top of a mouse. This was a plug-and play substitution that worked with the previous electronics and worked quite nicely, though the ability to grip doesn’t give you much to do in the XY plane
  • To Get 3D interaction, I took two FS/VO modules and added them to a Phantom Omni. I also dropped the arduino and the synthesizer and the Arduino, using XAudio2 8-channel audio and a Phidgets interface card. This system worked very nicely. The FS/VO elements combined with a force feedback base turned out to be very effective. That’s what became the basis for the paper, and hopefully the basis for future work.
  • Project code is here (MD5: B32EE89CEA9C8E02E5B99BFAF24877A0).

Strain Relief and Shorts

IMG_2194Yesterday, just as I was about to leave work, one of my coworkers dropped by to see what I was doing and thought it would be fun to be experimented upon. Cool.

I fired up the system, created a new setup file and ran the test. Everything ran perfectly, and I got more good results. When I cam in this morning though, the rig was pretty banged up. A wiring harness that had been fine for me working out bugs was nowhere near robust enough to run even one person through a suite of tasks. It’s the Law of Enemy Action.

You’ve heard of Murphy’s Law (Everything that can go wrong, will). The Law of Enemy action is similar: “People will use your product as if they are trying to destroy it”. In a previous life I designed fitness equipment and it was jaw dropping to see the amount of damage a customer could inflict on a product. Simply stated – you need to overdesign and overbuild if at all possible.

With that in mind, I pulled all the hardware off the Phantom and started over. New, lighter, more flexible wire. strain relieved connections. Breakaway connections. The works.

When it was done, I fired it up and started to test. Sensors – check. Actuators – check. Yay! And then the right pressure sensor started to misbehave. It was kind of beat up, so it made sense to replace it. But when I went to test, the new sensor was misbehaving in the same way. And it seemed to be related to turning on the vibro-acoustic actuators.

Time to open the box up and poke around. Nope – everything looked good. Maybe the connector? Aha! My new more flexible cable was stranded rather than solid. And a few strands from one of the wires was touching the right sensor connection.

So I pulled everything apart and replaced the cable that went into the connection with 22 gauge solid wired which then connected to my stranded cable. All fixed.And an example that even though Murphy’s Law is bad enough, you should always be prepared for Enemy Action.


Packaging!

Ok, here it is, all ready to travel:

IMG_2192

It’s still a bit of a rat’s nest inside the box, but I’ll clean that up later today.

Adding a “practice mode” to the app. It will read in a setup file and allow the user to try any of the feedback modalities using srand(current milliseconds) – done

Sent an email off to these folks asking how to get their C2-transducers.

Need to look into perceptual equivalence WRT speech/nonspeech tactile interaction. Here’s one paper that might help: http://www.haskins.yale.edu/Reprints/HL0334.pdf

Fixed my truculent pressure sensor and glued the components into the enclosure. Need to order a power strip.

Dancing Phantoms

Spent most of the day trying to figure out how to deal with geometry that has to be available to both the haptic and graphics subsystems. The haptics subsystem has to run fast – about 1000hz and gets its own callback-based loop from the HD haptic libraries. The graphics run as fast as they can, but they get bogged down.

So the idea for the day was to structure the code so that a stable geometry patch can be downloaded from the main system to the haptics subsystem. I’m thinking that they could be really simple, maybe just a plane and a concave/convex surface. I started by creating a BaseGeometryPatch class that takes care of all the basic setup and implements a sphere patch model. Other inheriting classes simple override the patchCalc() method and everything should work just fine.

I also built a really simple test main loop that runs at various rates using Sleep(). The sphere is nice and stable regardless of the main loop update rate, though the transitions as the position is updated can be a little sudden. It may make sense to add some interpolation rather than just jumping to the next position. But it works. The next thing will be to make the sphere work as a convex shape by providing either a flag or using a negative length. Once that’s done (with a possible detour into interpolation), I’ll try adding it to the graphics code. In the meanwhile, here’s a video of a dancing Phantom for your viewing pleasure:

Phidget about

Yesterday, I got the sensor resistance converted to voltage using this nifty tutorial from Sparkfun. A 1k ohm resistor seems to work best, since I want most of the sensitivity to be light pressure.

Today, the goal is to build a circuit with three channels that connects to the Phidgets voltage sensor. The only thing I’m wondering is if I’ll get the resolution with the voltage range I’m getting – Zero to about 2.5 volts. I’m estimating that I should get about 1500 – 3000 steps out of that, assuming -30v to +30v is resolved to a (unsigned?) 16-bit int.

Done!

ratsnest